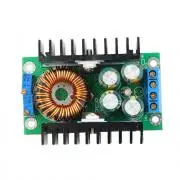
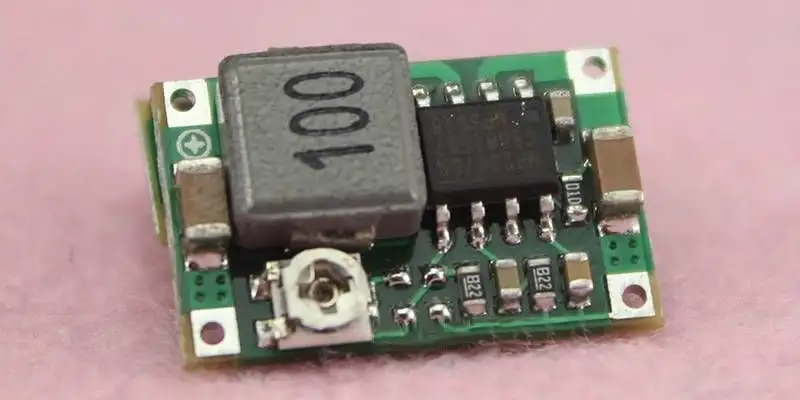
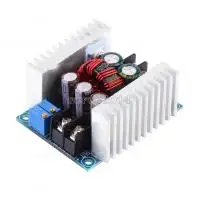
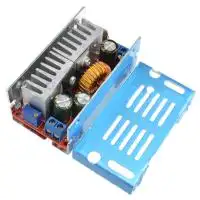
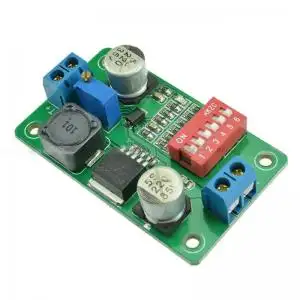
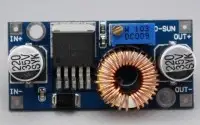
Általános célú konstans feszültség/konstans áramra szabályozható DC-DC feszültség átalakító
DC-DC konverter.
CC/CV konstans áram/konstans feszültség potméterrel szabályozható.
A DC-DC konverter így alkalmas lehet ledek meghajtására, különböző típusú akkumulátorok karakterisztikájához igazodva akkumulátor töltésre, peltierek meghajtására, stb...
Kiemelkedő hatásfok.
Bemeneti tartomány: 7-32V (abs. max 40V)
Kimeneti tartomány: 1-28V (abs.max 0.8-35V )
Abs. max: 8A
Furatok távolsága: 27x58
Panel mérete: 37x65
Befoglaló méretek: 48x65x23
XL4016 vezérlő IC biztosítja a stabil működést. Többféle változat is kapható.
A modul beépítéséhez biztosítani kell a megfelelő hőelvezetést, célszerű mindig jóval túlméretezni teljesítményben, ügyelve a maximum pillanatnyi csúcsterhelésre is.!
Jellemzők:
1. Fixed turn lamp current is 0.1 times the current value ( Used to
identify whether the battery is fully charged When charging).
2. Made from a dedicated benchmark IC and high-precision current
sensing resistor, proving a more stable constant current, (when 20 °c to 100 °c
constant current 1A, temperature drift less than 1%). Particularly suitable for
LED driver.
3. High output current, the max output current can reach 8A.
4. Four high frequency capacitance, can lower output ripple, enhance the work stabilization.
Specifications:
Module Properties: non-isolated step-down constant current, constant
voltage module (CC CV) charging module
Input voltage: DC 7-32V (abs max 40V)
Output voltage:DC 0.8-35V continuously adjustable
Output Current: 8A (when power tube's temperature exceeds 65 degrees,
please add cooling fan)
Turn lamp current: constant current value * ( 0.1 ) , turn the lamp
current and constant value linkage, such as constant current value is 3A, turn
the lamp current is set to a constant current is 0.1 times (0.1 * 3A = 0.3A).
Lowest pressure: 1V
Output Power: Maximum power is about 300W
Conversion efficiency: up to about 95%
Operating frequency: 300KHZ
Output ripple: 20M bandwidth
Input 24V Output 12V 5A ripple around 50mV (Excluding noise)
Output short circuit protection : Yes, constant current
Input Reverse Polarity Protection: None
Output prevent backflow: None
Wiring: Terminal
No-load current: Typical 20mA (24V switch 12V)
Load regulation: ± 1% ( constant )
Voltage regulation: ± 1%
Dynamic response speed: 5% 200uS
Potentiometer adjustment direction: clockwise (increase) ,
counterclockwise (decrease). the potentiometer(CV) closed to the input voltage
is used to regulate voltage, the potentiometer(CC) closed to output voltage is
used to regulate current (CC)
Operating temperature: Industrial grade (-40 °c to +85 °c) ( please
note the actual use of the power tube temperature , high temperature heat
strengthened please )
Indicator: dual color indicator, charging indicator light is red, the
green light means fully charged ( No load is green )
Size(approx): 65 x 47 x 22mm(L x W x H)
Battery charge
1. Make sure of the battery float voltage and charging current that you
need, as well as the input voltage of the module.
2. Adjust the constant voltage potentiometer and adjust the output
voltage to about 5V.
3.Use the multimeter in 10A current scale to measure output
short-circuit current, and adjust the current potentiometer to make the output
current to the expected charging current value.
4. Adjust the constant voltage potentiometer to make the output voltage
reaches the float voltage.
5. Connected to the battery, try to charge.
(1,2,3,4 steps to connect the power module input,output no-load does not connect battery.)
LED constant current drive
1. Make sure the operating current and Max operating Voltage of the LED
you need to drive.
2. Adjust the constant voltage potentiometer, adjust the output voltage
to about 5V.
3. Use the multimeter in 10A current scale to measure output
short-circuit current, and adjust the current potentiometer to make sure the
output current to the expected LED operating current.
4. Adjust the constant voltage potentiometer to make the output voltage
reach the maximum LED operating voltage.
5. Connect LED, test.
(1,2,3,4 steps to connect the power module input, output No-load does
not connect LED.)
Kapcsolódó termékek
Kapcsolódó cikkek
Vélemények (küldje be Ön is véleményét)
Cégünk elektronikai és szoftveres fejlesztésekkel foglalkozik, ami mellett internetes kereskedelmet is indítottunk az ehhez kapcsolódó modulok és fejlesztő egységekkel. Már több mint 15.000 féle termék rendelhető, melyből több mint 5000 saját raktárunkról azonnal elérhető. Fiatal cégként dinamikusan bővülünk, alkalmazkodunk a modern igényekhez. Támogatjuk a hazai fejlesztéseket, és diákokat, termékekkel, szolgáltatásokkal, és saját tudásunkkal. Rendszeres vásárlóink között tudhatunk rengeteg magyar nagyvállalatot, oktatási intézményt, megbízóink között pedig több fejlődő kis- és közép- vállalkozást.
2016-tól mi béreljük az elektrobot.hu-t, mely egy közösségi blog és híroldalként indult, ezen keresztül korábban több elektronikai cég forgalmazott, és jelenleg is hírdeti szolgáltatásait. Rendszeresen jelen vagyunk a magyar elektronikai fórumokon online és kiállítások, rendezvények formájában. Próbáljuk összehozni az oktatásban és versenyeken résztvevőket a fiatal cégekkel, és a komolyabb megbízókkal.


